Building the Nightmare - Theme and Oil Painting
/This series of blogs has been purposefully designed to supplement our discussion on the inspiration and creation of our army, Pannithor’s Nightmare, as shared on the Counter Charge Podcast. Hopefully we have shared enough information on our decisions and the process used to inspire you to create something unique of your own. In this installment Dan takes you through the process of painting this army.
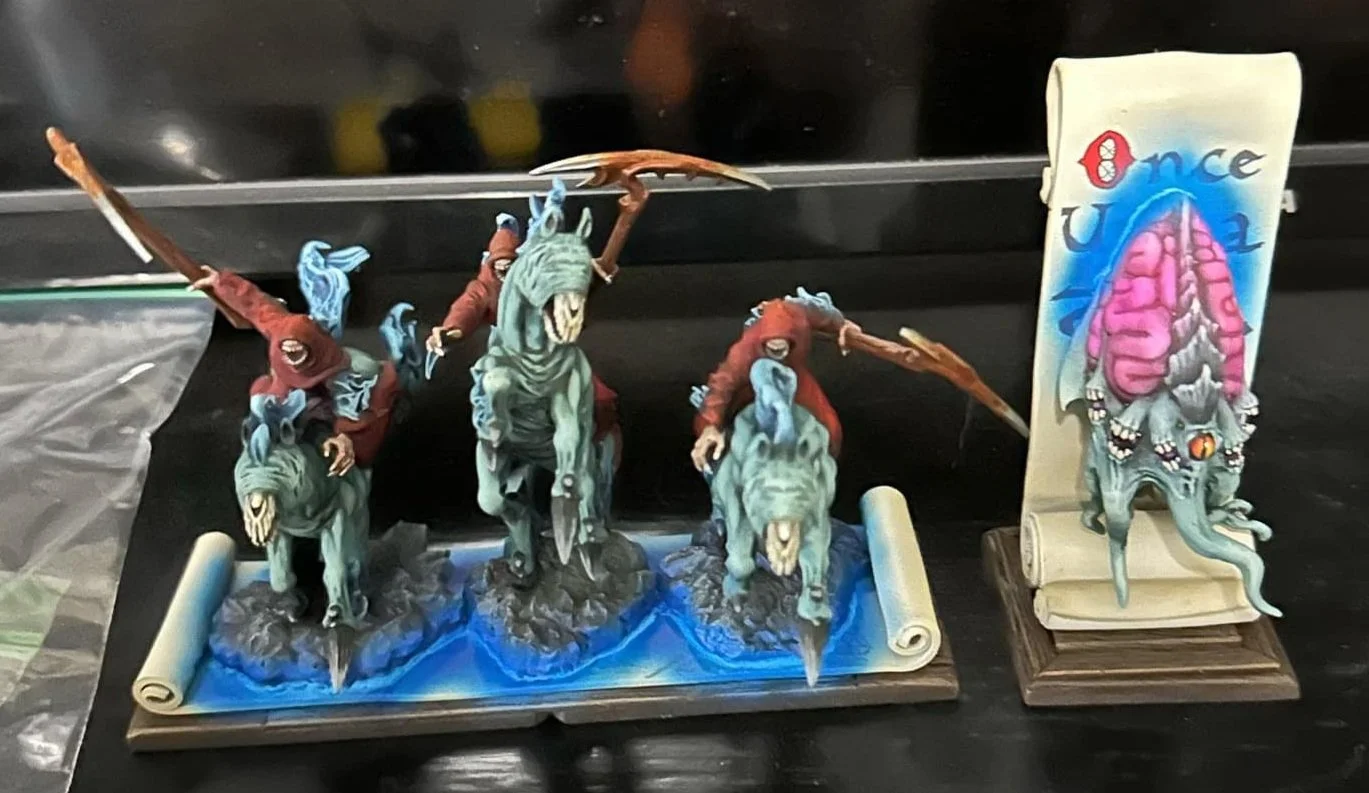
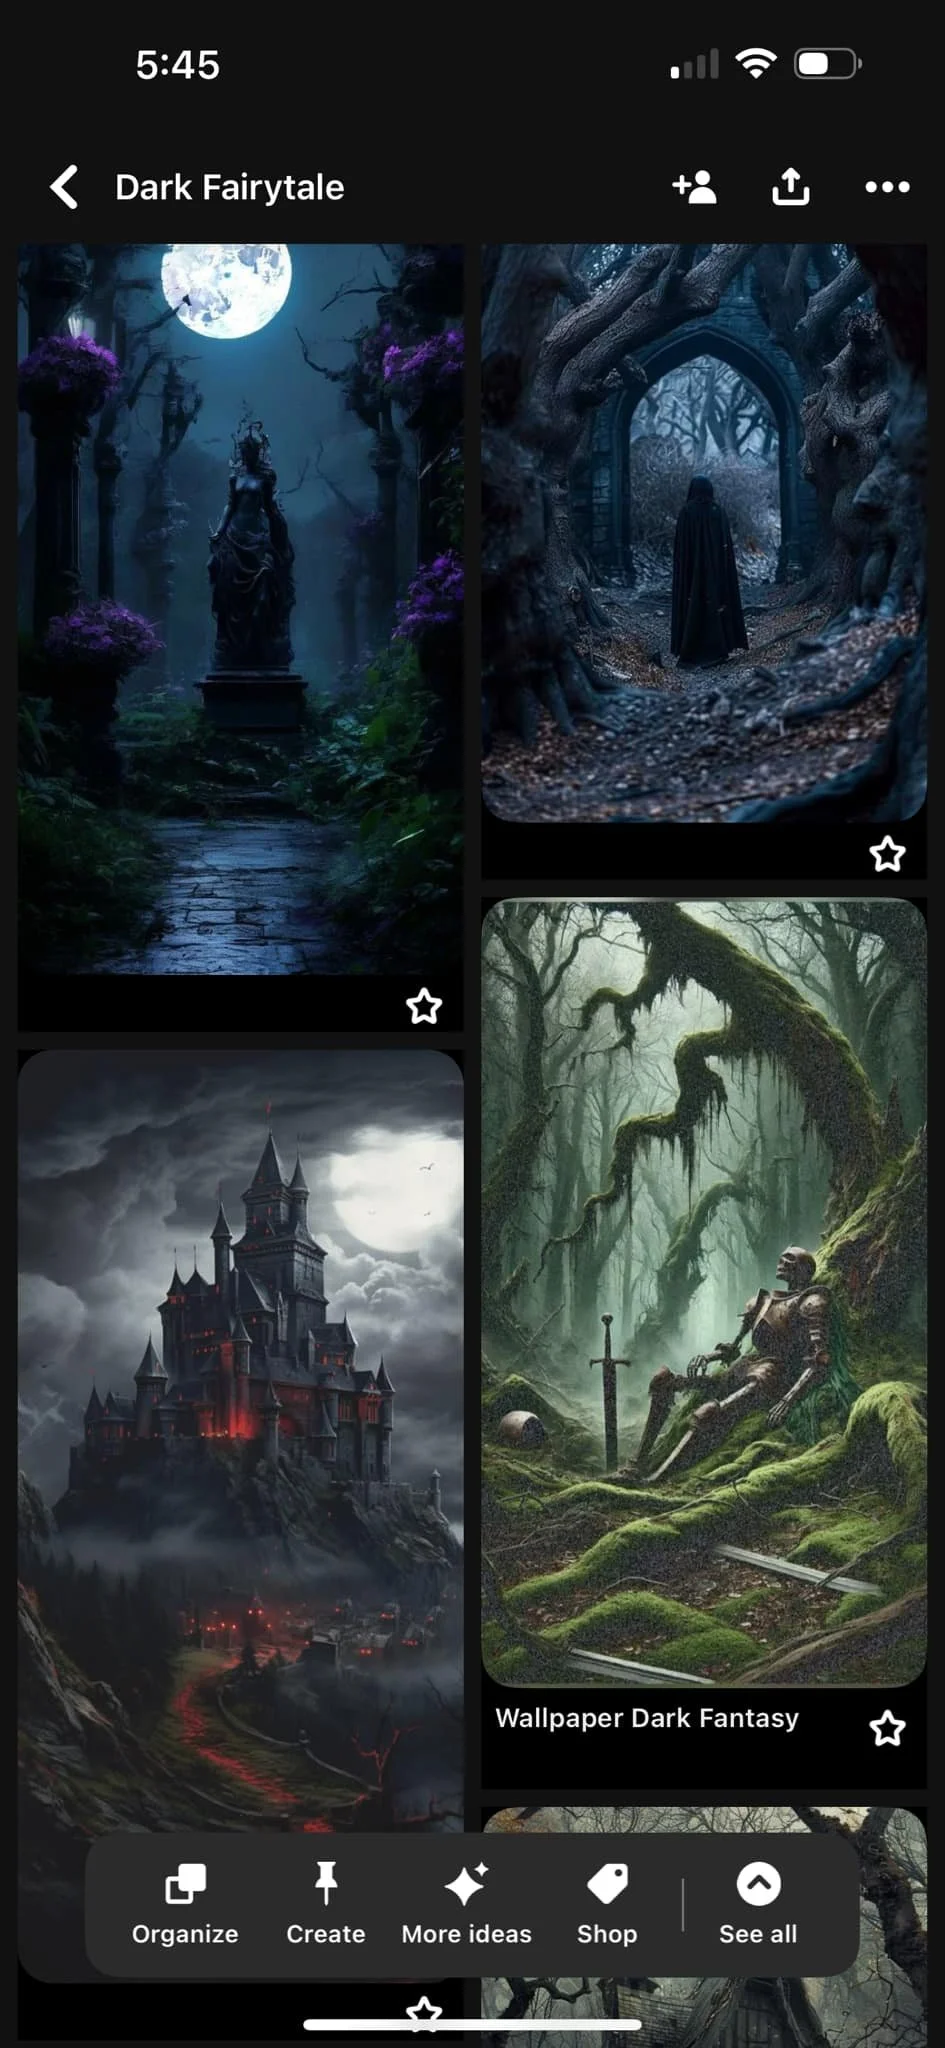
We began pitching ideas after we decided on using Abyss and Nightstalkers. We debated doing a hot and cold contrast army, being fire and ice, etc. Eventually, we pitched ideas back and forth when the idea arose to look at a grimdark fairytale vibe which would fit both armies naturally. I made two Pinterest boards which is very common for me to do for a project like this. One was looking at dark fairytale aesthetic photos, and another was for model color pallette (primarily skin tone which was the major decision). I never quite clicked with the dark fairytale vibe, but that did lead to thinking about books and fonts. Eventually, we circled around to what if fairytales were real and we centered the project around a researcher who was looking into that sort of thing. That locked in the library and book theme and then we were off to the races. Rob did an excellent job with the basing to really sell the idea.


I had the job of coming up with a color pallette. I eventually settled on a brighter ivory/grey tone with either blue/purple or green undertones. I eventually settled on green for the undertone. I told Rob that I wanted to use oil paints for this army as there was a lot of skin tone and the blending is much easier and more realistic. Rob was up to the challenge. I don't want this to be an oil paint tutorial, but feel free to reach out to me if you want to discuss it more in-depth. I am always happy to talk paint. Instead of going through step by step, I will lay out the broad strokes with pigments used.


First you lay thick oil paint (preferably one that stains the primer) over the entire model and let it sit for a bit (the color is perylene black). Perylene black is actually green which isn't confusing at all. Then you wipe most of the paint off with a makeup sponge. Next, you mix some brilliant yellow pale (this color is actually a pale yellow like it says!) with the original color and place it down. They naturally blend together. They do begin to "set" a bit over time and make it easier to continue to highlight a bit brighter. Oil paints are not really something you layer, they layers all blend together. Using a very soft brush, you continue to blend and remove visible brush strokes (very important step!). You continue to refine until you are happy with the result. I essentialy get the models to 90% done and then let them dry. Drying can literally take a week or more in some cases depending on pigment. Once dry, we used matte varnish to seal it as oil paints can run satin to gloss which I don't vibe with. After that, I did finishing touches with acrylics which included eyes, teeth, metallics, and edge highlights. Also a glaze through the airbrush of flourescent pink. That gave a desaturated and very saturated contrast on the skin which works well. The cloth also was a very saturated red which contrasted with the subtle green in the skintone.


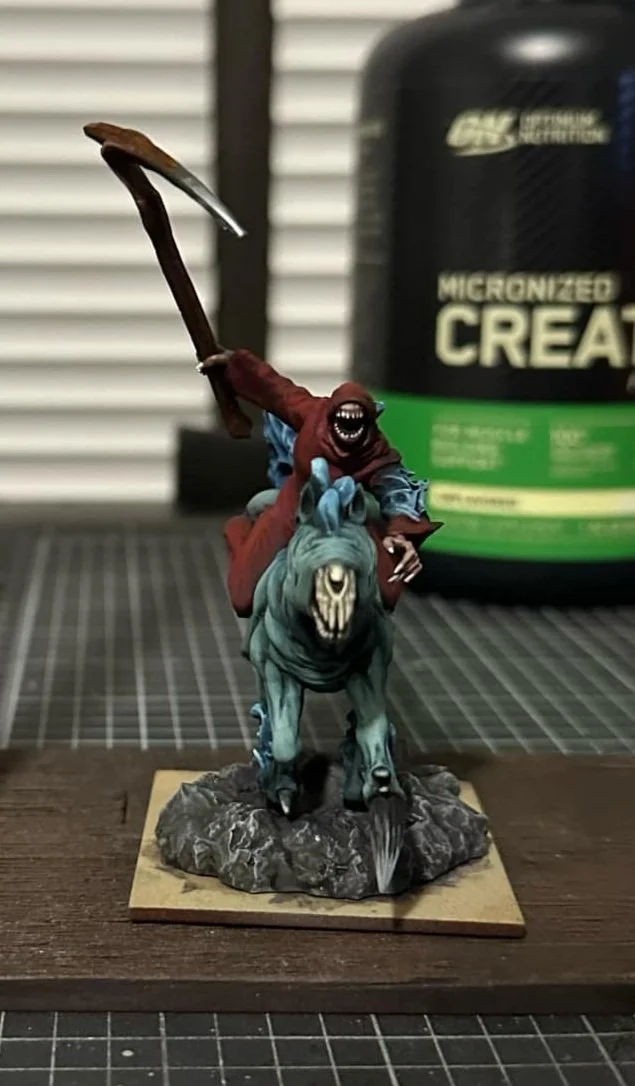
In terms of metallics as were used ProAcryl metals and Dirty Down Rust effects. Nothing complicated but the effect was nice I thought. Certain models were phasing into existence out of scrolls and books so an airbrush was used to complete the task of OSL. I eventually got a result I wasn't "unhappy" with, but overall, that is the area of paint that I was least pleased with. A lot of room to practice OSL and improve! I did do a test model for our army and used a butcher I happened to have laying around. I got lucky and felt like the first attempt was a good proof of concept and told Rob we should move forward with that. It doesn't alway work that way. For those that have seen my Ratkin army, I believe I got up to 8 different test models and nearly abandoned that project! Thankfully, the first attempt was successful, because we ended up finishing the entire project with barely any time to spare despite starting in November.